|
|
Rank: Advanced Member
Groups: Member
Joined: 5/11/2009
Posts: 570
|
Thanks guys - and Jamie I'd put you in that group sooner than myself! digggerr - I just cut very thin strips of 0.5mm styrene for the weld beads. The main purpose of putting them on the ears was for reinforcement as the bucket cylinder is really stiff. I may put them elsewhere but don't want to make too much work for myself as there's still a long, long way to go! I'm definitely getting tired now and might need to take a break, so I'm doing little jobs a little at a time. Currently working on the cylinders so that they're ready to install in the boom, and it's pretty tedious work because everything needs to be done in a specific order and I can't skip steps. As always, once it's done, it's done, and I don't need to worry about it again. I spent a lot of time measuring out the cylinders from photographs, making sure I get the bore right. The biggest cylinder on the machine is the bucket cylinder, so I've gone for 14mm on the jacket and 8mm steel tube for the ram. The stick cylinders are the smallest cylinders, and they use 11.1mm tube for the jackets and 6mm tube for the rams. The hoist cylinders are in the middle with 12.4mm tube for the jackets and 7mm tube for the rams. 
|
|
Rank: Advanced Member
Groups: Member
Joined: 12/10/2013
Posts: 89
Location: WA
|
Very nice!
|
|

Rank: Advanced Member
Groups: Member
Joined: 3/16/2015
Posts: 105
Location: Brampton, On
|
Excellent project. Thank you for giving us the play by play as for everyone has an idea on how to accomplish so many little details that make
the true realism look.
Dan
Growing old is mandatory
Growing up is optional
|
|
Rank: Advanced Member
Groups: Member
Joined: 5/11/2009
Posts: 570
|
cubanator & 3mscrap - thank you very much! I've finally reached the milestone I've been working towards since I started this project: assembling all the main components of the machine and putting it together for the first time. I finished working on the cylinders and boom yesterday and late last night I was able to put it all together and test the strength of the cylinders and the potential for posing the model. I'm delighted with the result and there appear to be no major problems with hinges, which is a blessing because I HATE drilling holes. It's the only part of the model-building process that I simply cannot stand. I can cut and cement styrene all day... just don't ask me to drill any holes! With all the main components very roughly in place I now need to think about finishing and detailing the parts and getting them all ready for painting, which will take a considerable amount of time. The tracks alone will be a huge job, and I still haven't decided exactly how I'm going to tackle them. Pics (a bit bigger than usual): 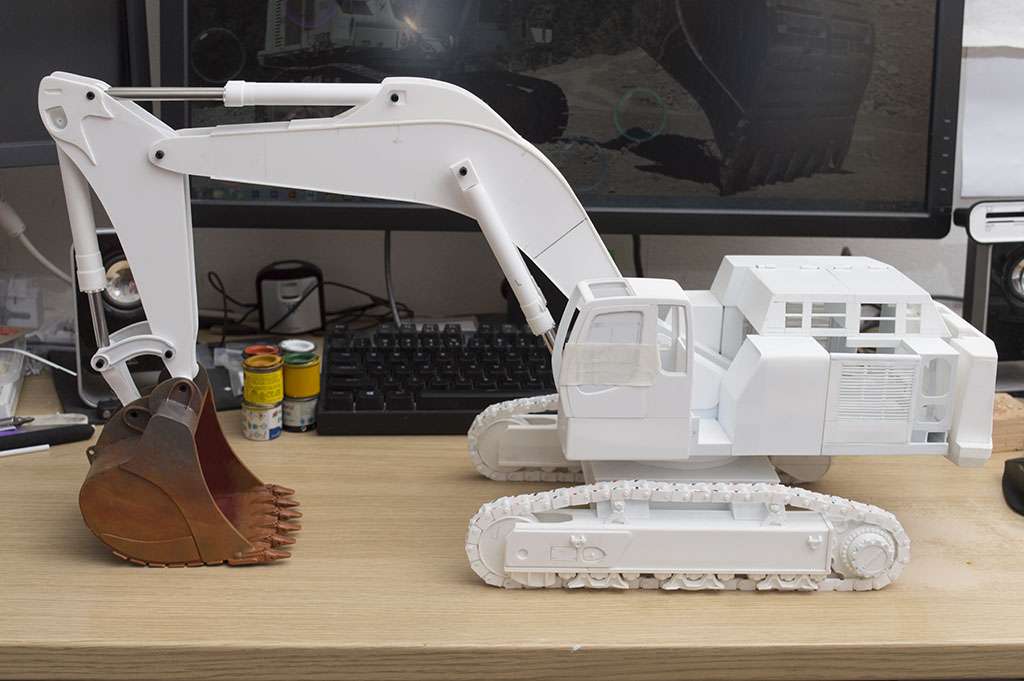 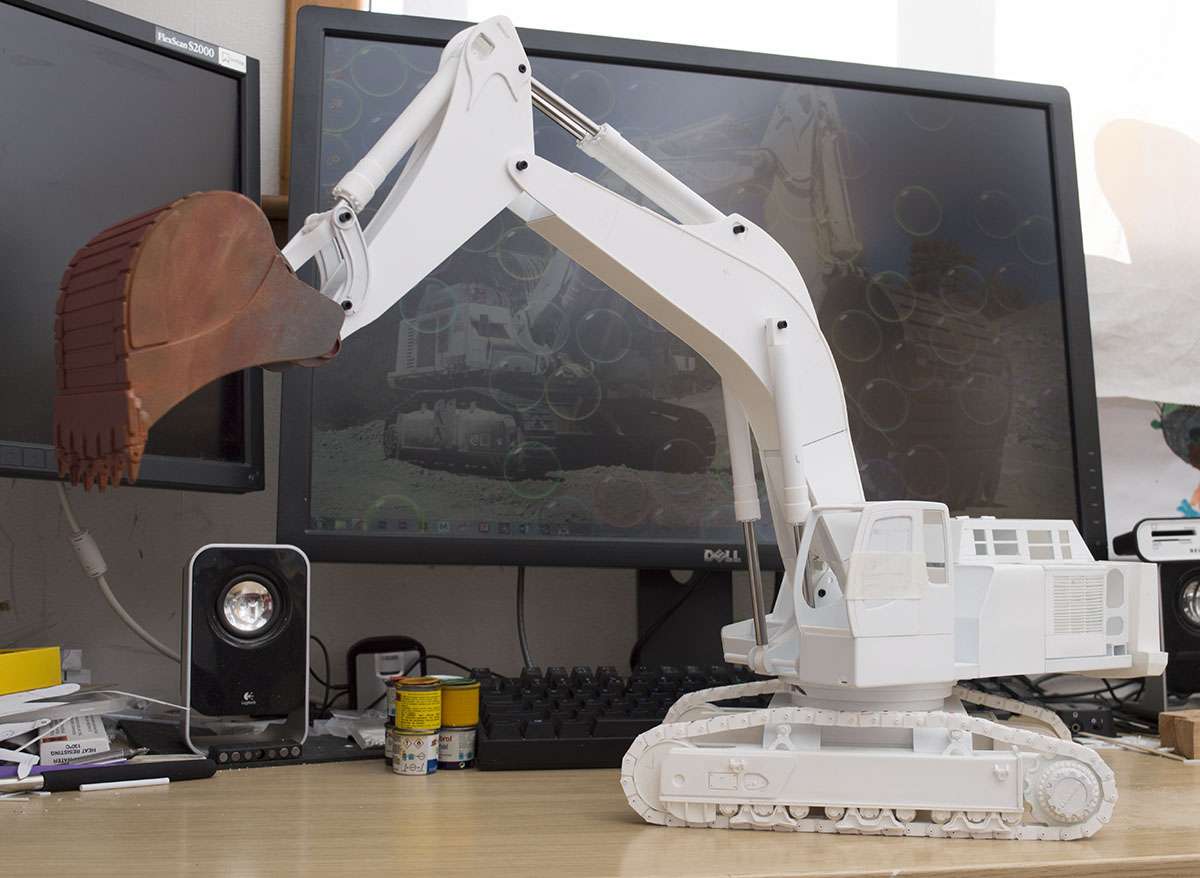 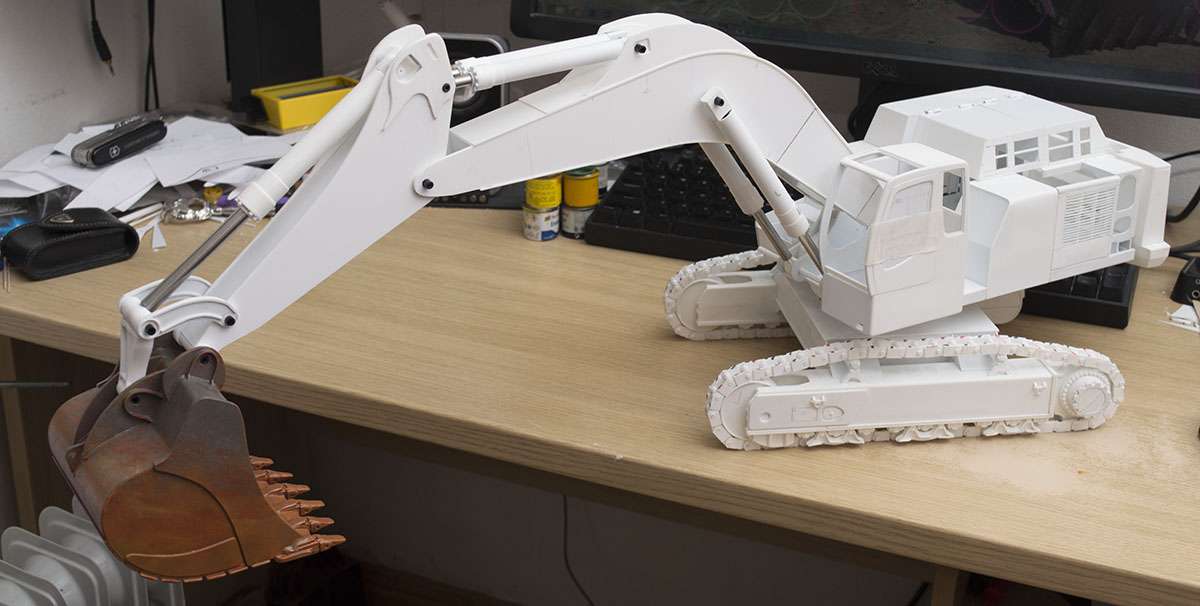 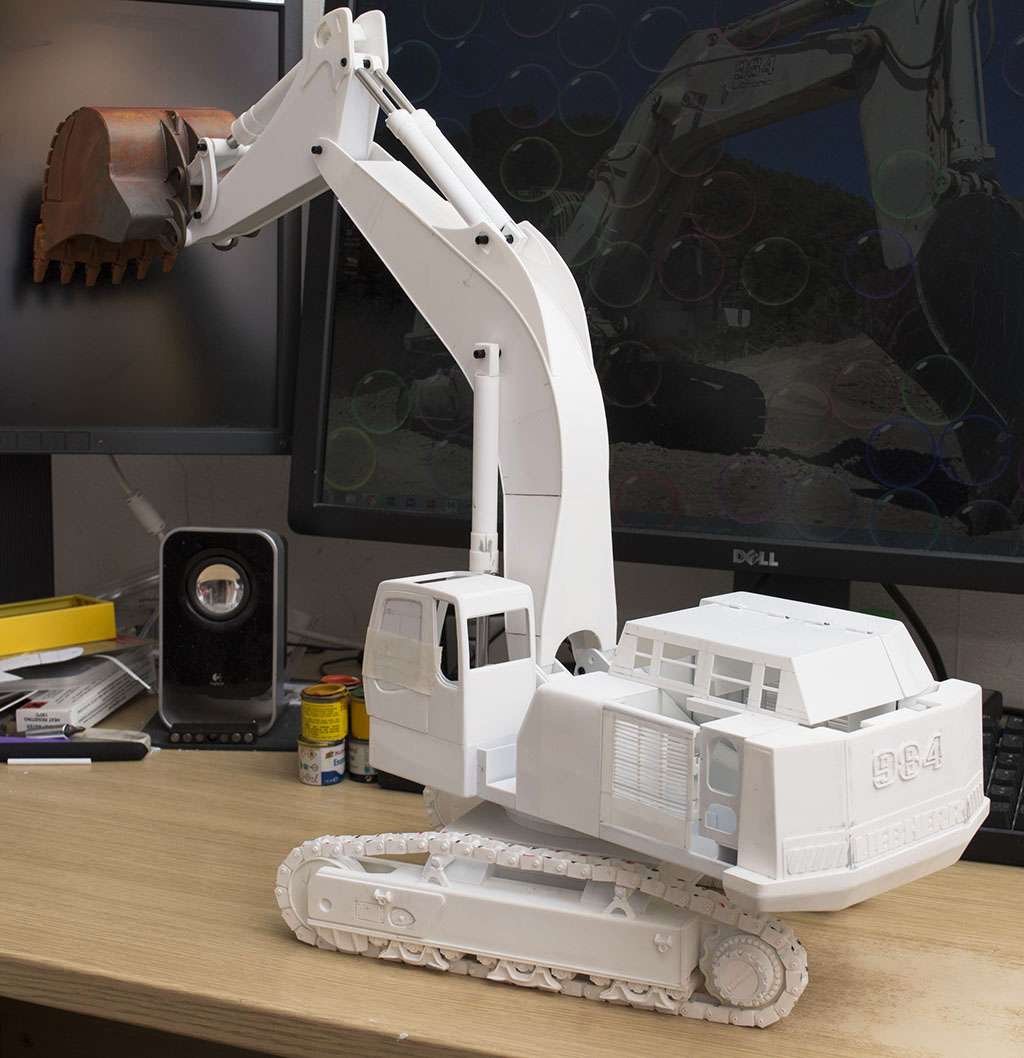
|
|

Rank: Advanced Member
Groups: Member
Joined: 1/11/2007
Posts: 9,004
Location: Lincolnshire
|
This has been an amazing project to follow! The mock up in the last set of photos really bring it together and I really look forward to the next stage!
Paul R
|
|

Rank: Advanced Member
Groups: Member
Joined: 10/7/2005
Posts: 2,495
Location: Shetland
|
Wow it's looking stunning! 
Scania V8. The best sounding truck in the world.
|
|
Rank: Advanced Member
Groups: Member
Joined: 7/6/2015
Posts: 1,317
|
Excellent craftsmanship. That takes first place hands down send me the model and I will send you a blue ribbon. (I wish ) Outstanding, looking forward to the finished product.
Steve
|
|
Rank: Advanced Member
Groups: Member
Joined: 11/15/2003
Posts: 1,144
Location: North America
|
I remain in awe of the alacrity of this build!
|
|
Rank: Advanced Member
Groups: Member
Joined: 5/11/2009
Posts: 570
|
Paul R, Paul, Exkavate3140, and digggerr - thanks for your comments! I've (tentatively) started some detailing on the boom and stick now because I want to get it finished up and painted before doing more work on the superstructure of the machine. I did a little bit of work on the counterweight so that it now sits snug and doesn't wobble at all - will get pics up later. This morning I've been working on the bucket cylinder and have added some parts to detail the hydraulics. I'm not aiming for perfection here, just something that looks convincing and will work in styrene without being too fragile. There's a fair bit of detail to add to the stick but I want to do it and get it finished asap. I find that ticking parts off one at a time makes the process feel more managable, because I'll be honest - I feel like I've taken on a much bigger project than I realised at first. Such a long way to go, but I will finish this, even if not until next year! I've used some metal tube for bolt head detail because styrene isn't available in this size. It's hard to see all the details in white but I'll be sure to post better pics once it's all painted up. Oh... and I've decided to paint the machine in Liebherr yellow with grey cylinders - this is very uncommon on the 984 and will give the machine a unique look. 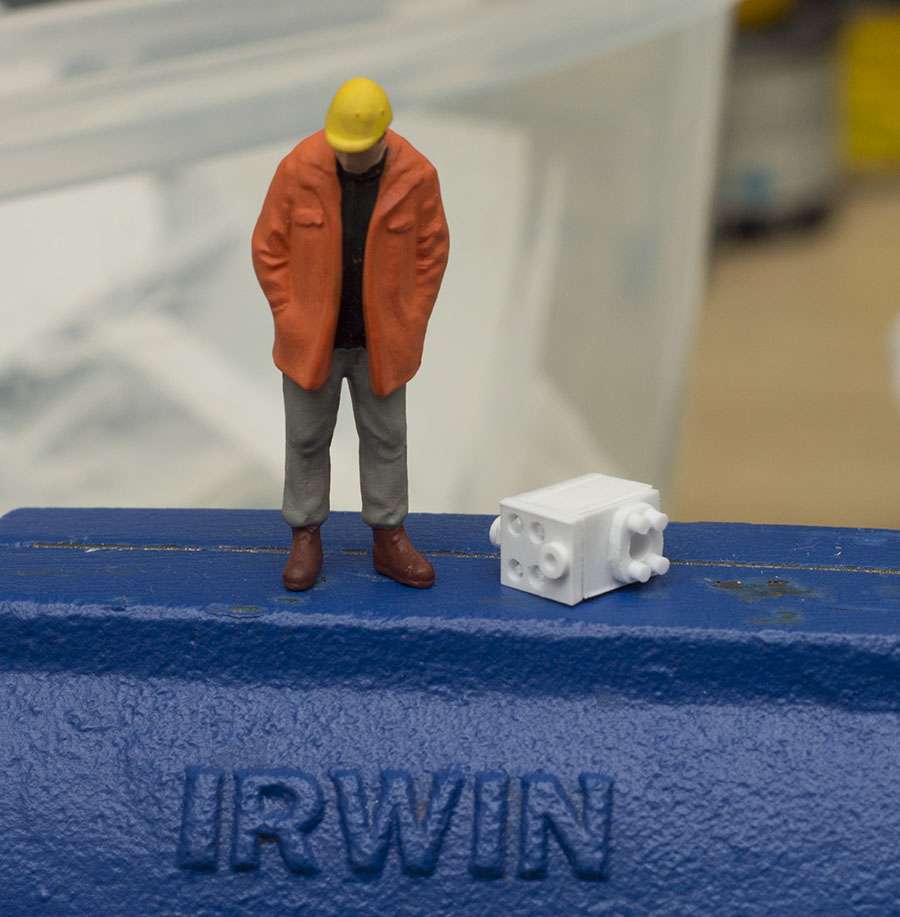 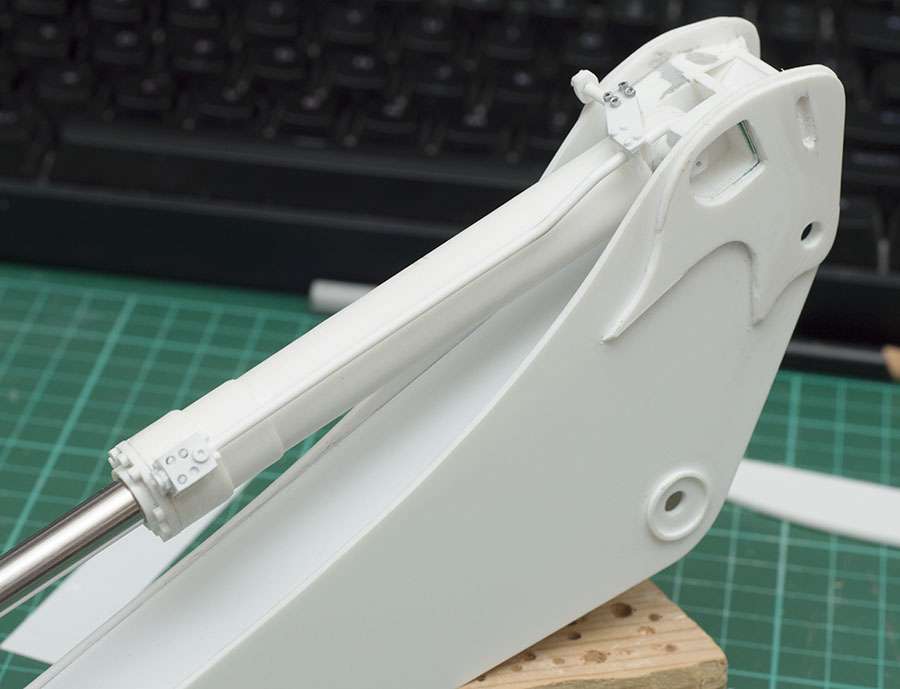
|
|
Rank: Advanced Member
Groups: Member
Joined: 11/15/2003
Posts: 1,144
Location: North America
|
Davie82 wrote:Oh... and I've decided to paint the machine in Liebherr yellow with grey cylinders - this is very uncommon on the 984 and will give the machine a unique look. There are a handful of R984Cs out there in traditional yellow and white colors but they're either demolition machines or barge-mounted to the best of my knowledge. Also; they all have yellow cylinder sleeves. Please take a look at this R984C shovel and imagine the cylinder sleeves being grey instead of yellow? I think it would look fantastic, but you would have to paint the cab grey too to achieve the complete effect. 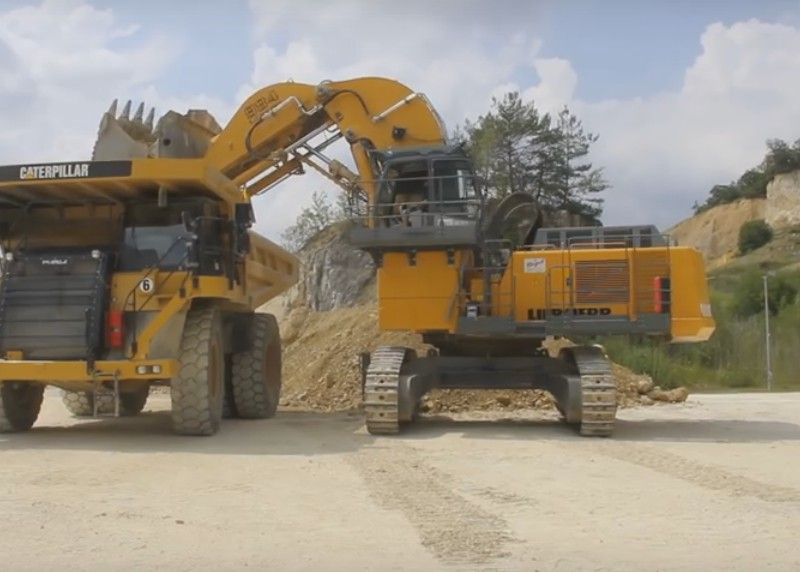 Maybe somebody out there with Photoshop experience can edit the image to give Dave an idea of the final contrast?
|
|
Rank: Advanced Member
Groups: Member
Joined: 5/11/2009
Posts: 570
|
There are some traditional yellow and white 984s with grey cylinder sleeves, but not many pictures around. I did a quick mockup in Photoshop using the colour scheme of the new machines (yellow/white/grey) and I really like it. I do like the grey cab but probably won't do it because it's not a standard Liebherr configuration. 
|
|
Rank: Advanced Member
Groups: Member
Joined: 5/11/2009
Posts: 570
|
Here's the status quo with the stick after several hours of fiddly detailing work today - lots of small parts for fixing extra hydraulic lines, and some work on the linkage as well. All it needs now is some work with filler/putty and then it'll be ready for paint. The small line attached just below the bucket cylinder is for the auto lube system and it runs down the front of the stick to the bucket and linkage pins. The rest of this detail will be added soon. 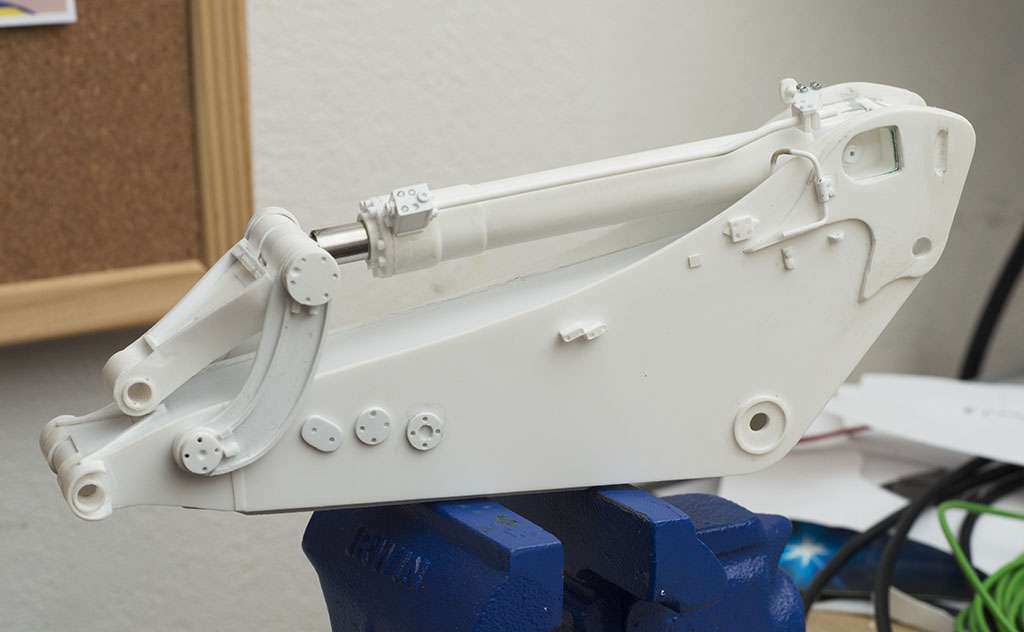
|
|

Rank: Advanced Member
Groups: Member
Joined: 12/30/2008
Posts: 3,439
Location: Good ol' Indiana
|
That is some great detail that you are adding to the stick!
-Ethan Collection 8/2/2016For more of the Diorama and my collection: On Facebook or On YouTube
|
|

Rank: Advanced Member
Groups: Member
Joined: 8/19/2013
Posts: 694
|
Indeed! This is a great lesson in patience and attention to detail - it will pay off and make a remarkable model.
|
|
Rank: Advanced Member
Groups: Member
Joined: 4/3/2009
Posts: 108
Location: South Yorkshire, England
|
Fantastic scratch building. Would love to see it at HEMS model show sometime.
|
|
Rank: Advanced Member
Groups: Member
Joined: 5/11/2009
Posts: 570
|
Basketball Man, Jamiescotland, and Cosmosman - thank you for your comments! Since Wednesday I've been slowly chipping away at the painting, deciding how best to go about it. I was VERY close to buying some Montana spray cans as recommended by Jamie, however the more I thought about it the more I wanted to take a more "artsy" approach to the painting of the model and I've decided to have a bash with my go-to Humbrol enamel paints. I've mixed my own colours for the yellow and grey, and I'm aiming for a very slightly aged look so the yellow is a little faded but still very close to RAL 1007. I used Simoniz grey primer for all the stick parts and it was a bit rough so I knocked it back with fine paper before starting with the top coat. I'll talk more in-depth about the painting later on as it's a big part of the project for me in terms of experimentation and technique. For now, here's a teaser of the setup before any weathering and probably still awaiting a final coat of yellow. Once these parts are done, I'll be tackling the gooseneck and the counterweight next. 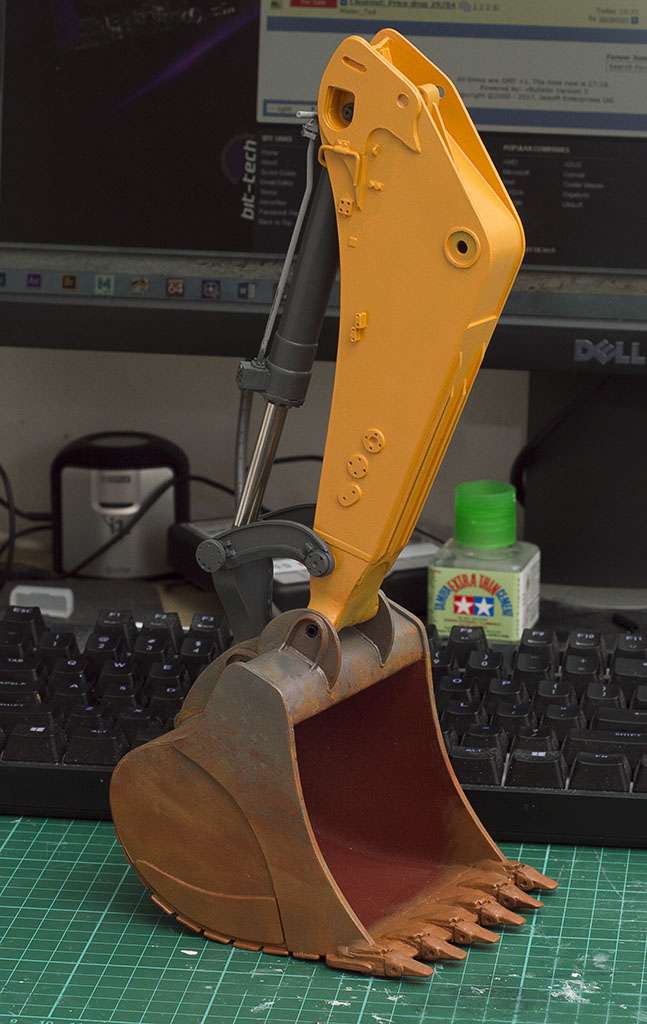
|
|
Rank: Advanced Member
Groups: Member
Joined: 2/1/2017
Posts: 176
Location: Goshen, Indiana
|
Incredible work. I've long admired those able to model with this level of detail. Looking forward to seeing more and learning about your techniques!
|
|

Rank: Advanced Member
Groups: Member
Joined: 6/29/2007
Posts: 574
Location: Atlanta, GA
|
Awesome work Davie! I've always been a fan of weathered models and am glad you are deciding to weather it. Bug
ITW Security
|
|
Rank: Advanced Member
Groups: Member
Joined: 5/11/2009
Posts: 570
|
RobS and gabugman - thanks! I did a little bit more work on the boom detail and stick cylinders, and I assembled the model once again just before I box it up for a wee while - I have other things to push on with but will return to the model as and when I can. It's been a really tough project in terms of patience and personal discipline, and I'm worried that I may take shortcuts and spoil the model if I try to rush things, so I'm going to take a bit of a break and endeavour to work on the model at least once a week over the summer. Here's one final pic of the current progress. Thanks again for all your support and encouragement - the project definitely would not be possible without this community of enthusiasts and modellers! 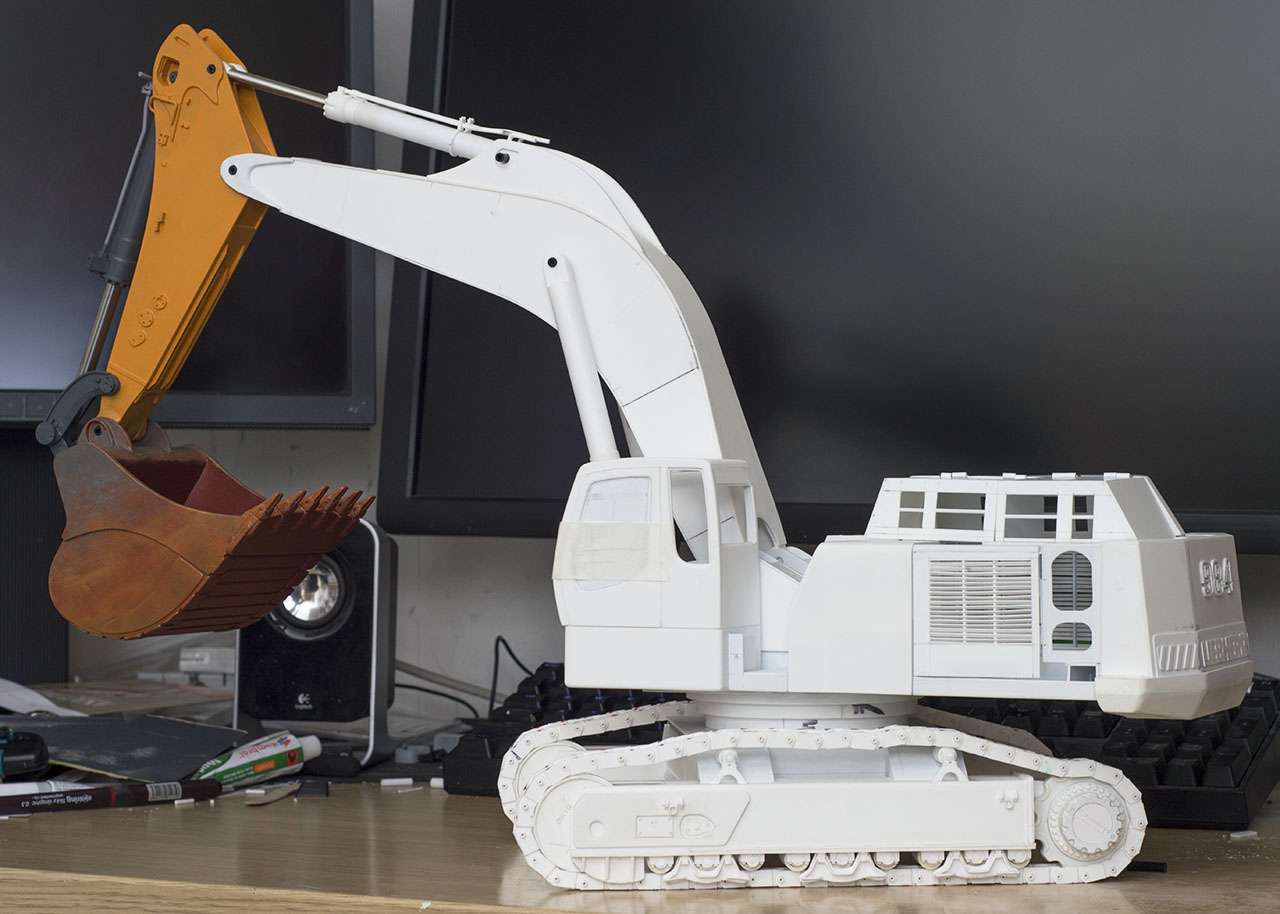
|
|

Rank: Advanced Member
Groups: Member
Joined: 10/4/2005
Posts: 983
Location: england
|
Shame its on hold  Totally understand reasons.Will look great,when finished,and painted.Looks really good,so far
|
|
|
Guest |
