|
|
Rank: Advanced Member
Groups: Member
Joined: 5/11/2009
Posts: 570
|
Thanks for all the kind words folks. @Titan1, this is all being done by hand. It's hard work! Progress has slowed a little as I'm running into some problems because I have very little reference material on the actual machine and I'm having to guess certain dimensions (eg width of the stick). I had to redo the dogbone linkage today as it was too narrow for the cylinders, but after fixing that I managed to get the cylinders finished and test fitted. Next job is the top of the stick, and then the hydraulic lines, for which I need to get some 1.6mm styrene rod. I reckon it'll take me a few more days to finish this part as there are still many challenging details to add to the top of the stick, and geometry has to be worked out for cylinder spacing etc. 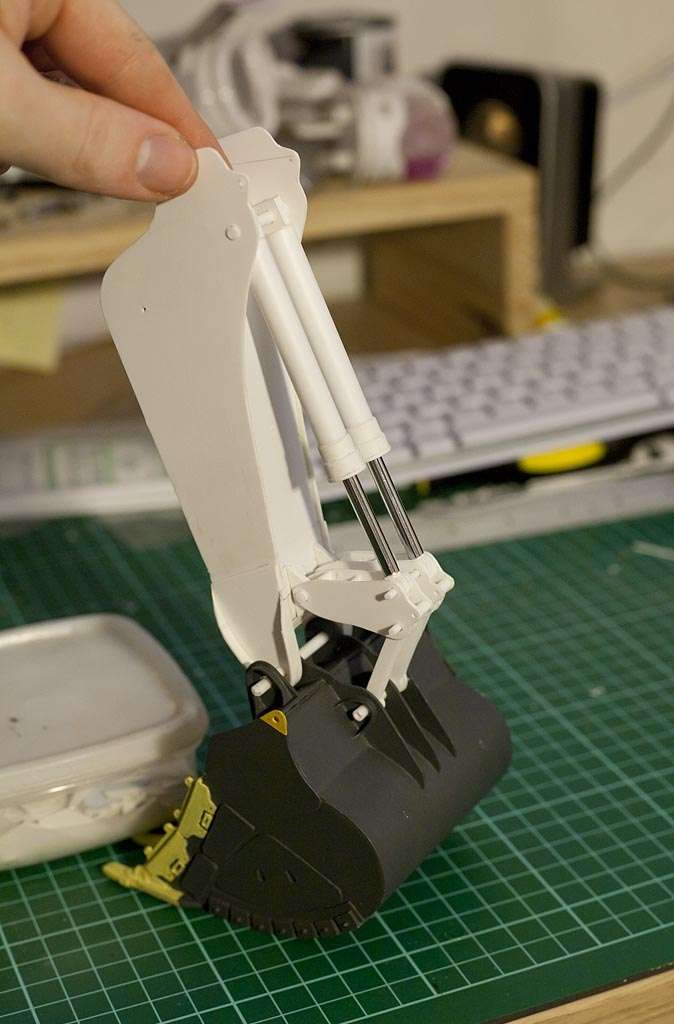
|
|
Rank: Advanced Member
Groups: Member
Joined: 6/26/2006
Posts: 163
Location: Mt.Carmel,Pa. 17851
|
By hand ! I am even more impressed, that is some really nice work.
|
|
Rank: Advanced Member
Groups: Member
Joined: 5/11/2009
Posts: 570
|
Thanks again  I spent several hours today adding straps and hydraulics to the cylinders, and also the trademark liebherr panel at the top of the stick. Very nearly done now, just a couple more details to add here and there, and the top between the cylinders, then I can start work on the gooseneck. 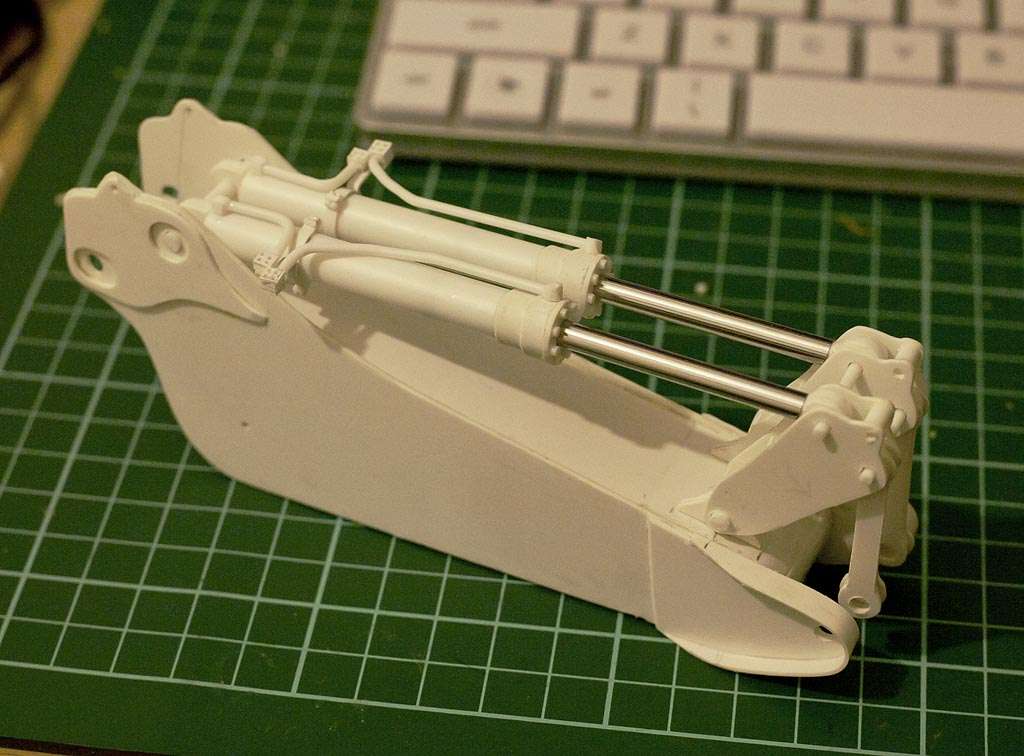
|
|

Rank: Advanced Member
Groups: Member
Joined: 6/4/2006
Posts: 7,752
Location: arlington, Tx
|
You have to love not having all the measurments when doing a build. It is coming out nice. Jason
NIkl Scale Models
|
|
Rank: Advanced Member
Groups: Member
Joined: 5/11/2009
Posts: 570
|
Thanks Jason. Progress is really slow because of the detail and the level of accuracy that I want. Despite making good progress today and finishing the detail on the bucket linkage, there's still a fair bit of detail to add to other parts of the stick. To give myself a much-needed break from styrene work I'll be priming and painting the cylinders and linkage this evening. 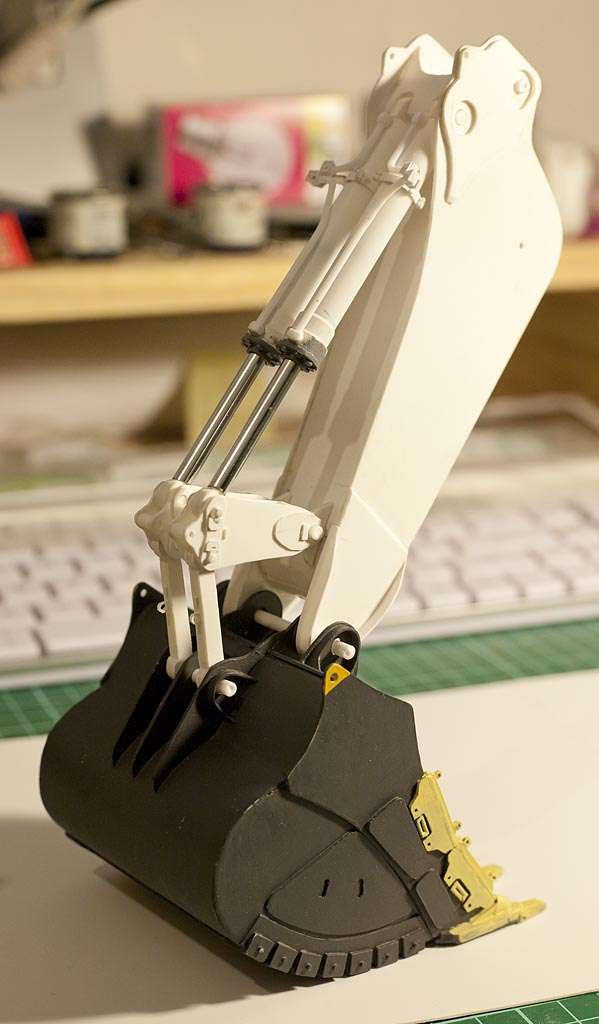
|
|

Rank: Advanced Member
Groups: Member
Joined: 8/9/2006
Posts: 795
Location: New South Wales, Australia
|
Absolutely amazing work. I really can't wait to see the finished product!!!
 The Caucasianaasian The Caucasianaasian
|
|
Rank: Advanced Member
Groups: Member
Joined: 5/11/2009
Posts: 570
|
Thank you  I wasn't happy with the colour of gray I had (too dark) so I repainted the bucket and finished the linkage and cylinders with a lighter colour, and I think it's much closer to the original Liebherr gray. I have now started work on the gooseneck and will start on the crawlers next. I braced the gooseneck internally with black 1mm styrene... it took a lot of time to get the geometry correct and I'll find out later if the boom will be straight or crooked!  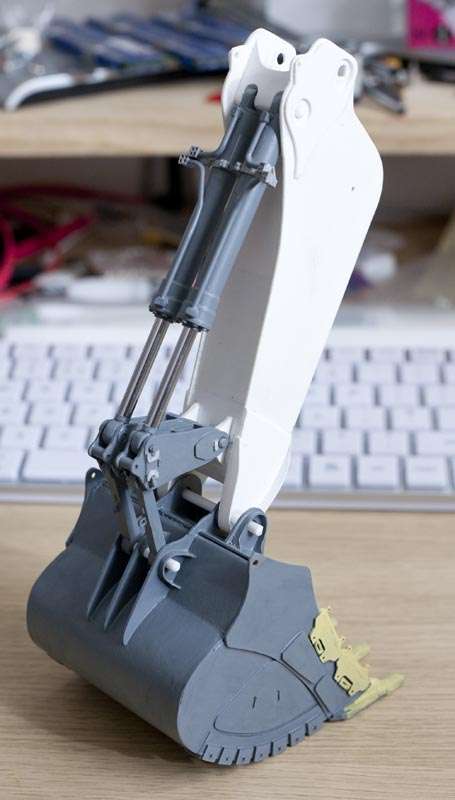 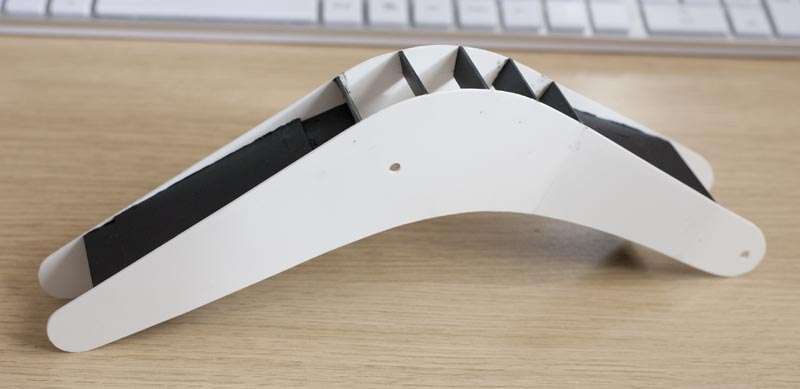
|
|
Rank: Advanced Member
Groups: Member
Joined: 5/11/2009
Posts: 570
|
Just a quick progress pic - I'm finished the main part of the gooseneck and so far I'm happy with it, although the holes for the stick will need to be correctly aligned (somehow) as they are about 0.5mm out. I've decided to take a break from this part of the machine for a while and start on the crawlers, which will be a real challenge - one hundred links in total, and each link will have many parts and a very high level of detail, and it will be very difficult to make them all exactly the same. 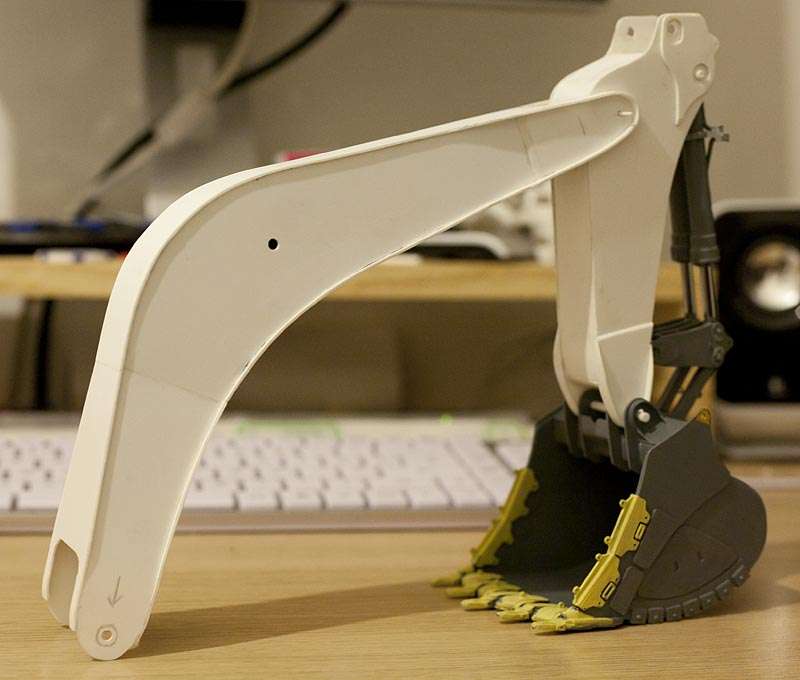
|
|

Rank: Advanced Member
Groups: Member
Joined: 11/26/2008
Posts: 2,559
Location: Edmonton, AB
|
Good luck for what's to come, but I'm not worried with the amazing work you've done so far!
|
|

Rank: Advanced Member
Groups: Member
Joined: 8/31/2008
Posts: 301
Location: Erie, Michigan
|
Very impressive work! You really need to weather that bad boy when you get it done. Gloss doesn't do a finely detailed model any justice in my opinion.
|
|
Rank: Advanced Member
Groups: Member
Joined: 5/11/2009
Posts: 570
|
Thanks Antho and born2lift08! I did actually think about weathering it and will seriously consider it when the model is done. Perhaps if somebody wants to buy it I will have to be open to suggestions like that.  Today I made seven crawler links, which took most of the day, and now my eyes hurt! Each link consists of eleven individually cut parts and the assembly is extremely fiddly. But I've done 7% now (one hundred links total...) and I should gather speed as I make progress. I will stop when I have made fifty links and I will try to complete one of the crawlers before starting the other. 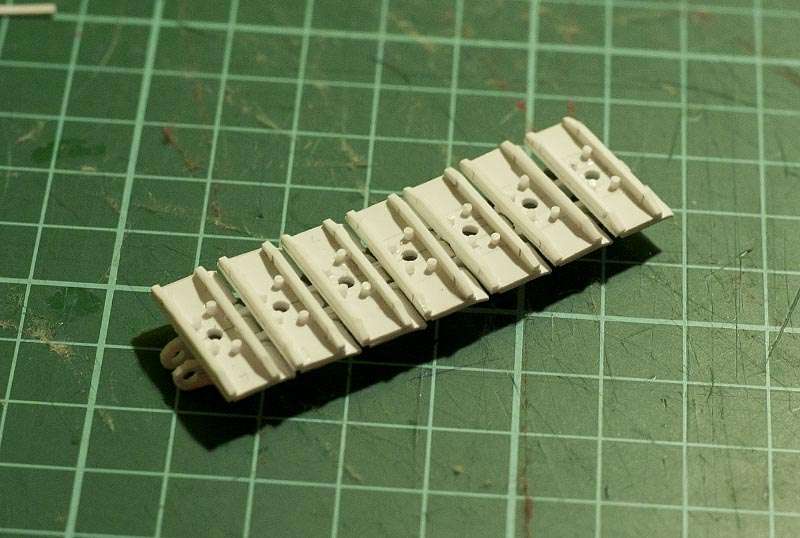 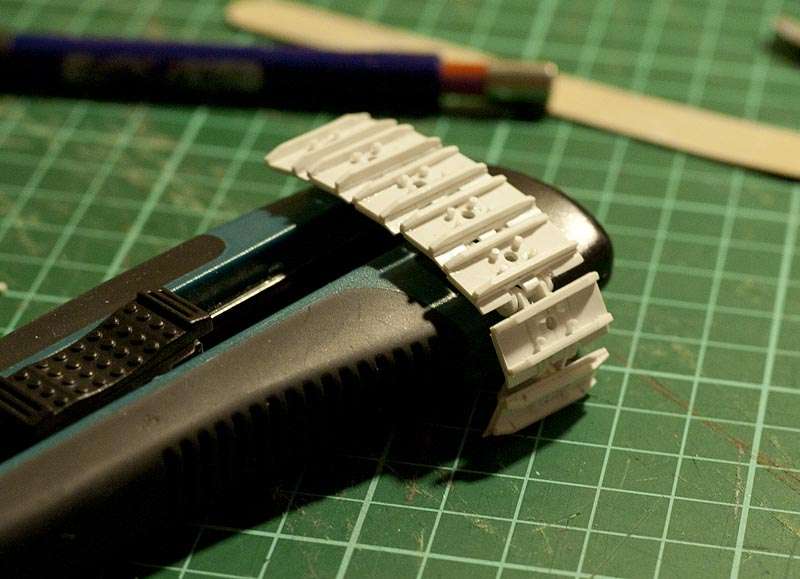 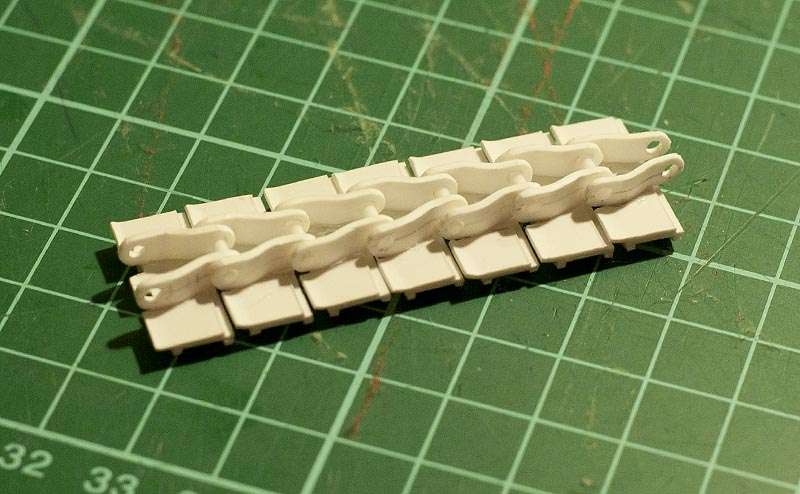
|
|

Rank: Advanced Member
Groups: Member
Joined: 11/26/2008
Posts: 2,559
Location: Edmonton, AB
|
Even if it's 1/32nd.. that's impressive!
|
|

Rank: Advanced Member
Groups: Member
Joined: 8/31/2008
Posts: 445
Location: Lewisville, Tx.
|
At that level of detail...I'm sure there won't be a problem finding a buyer. The only problem is going to be filling the remaining 9999 orders which will pour in. That is incredible. Definately a museum piece. Amazing work.
Shawn
|
|

Rank: Advanced Member
Groups: Member
Joined: 6/4/2006
Posts: 7,752
Location: arlington, Tx
|
Looking good man !!! I would mold those tracks though and cast Jason
NIkl Scale Models
|
|
Rank: Advanced Member
Groups: Member
Joined: 5/11/2009
Posts: 570
|
It's been a while, and thanks again for the kind comments folks! I decided to take a short break from making tracks and start on the undercarriage and track frames, and it turns out I have enough reference photos and technical information to complete them, so I made a lot of progress there and have almost finished one track frame. @Jason, casting the tracks starting with one link would probably take longer than making them individually, plus it feels a bit like cheating (kinda like copy & paste). I prefer the challenge and reward of scratch building, and I managed to complete fifty links (plus other stuff) in just a few days. Measuring and cutting is what takes the time; assembly is very fast by comparison. Here is the track frame as it looks now - still a lot of detail and finishing to do, but it's recognizable: 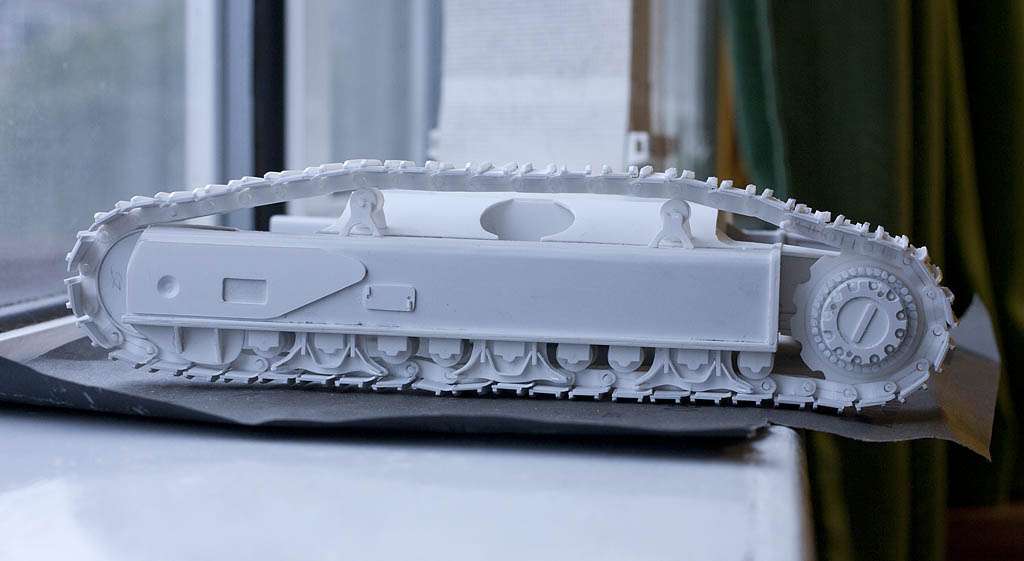 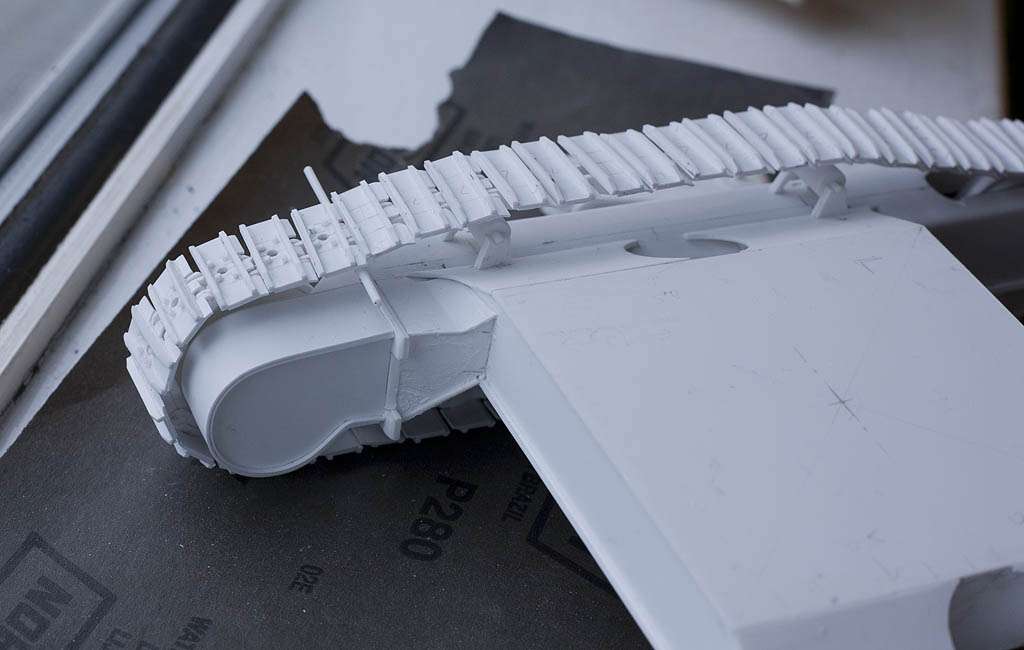 I made the drive sprocket today, which took several hours...one more to do! 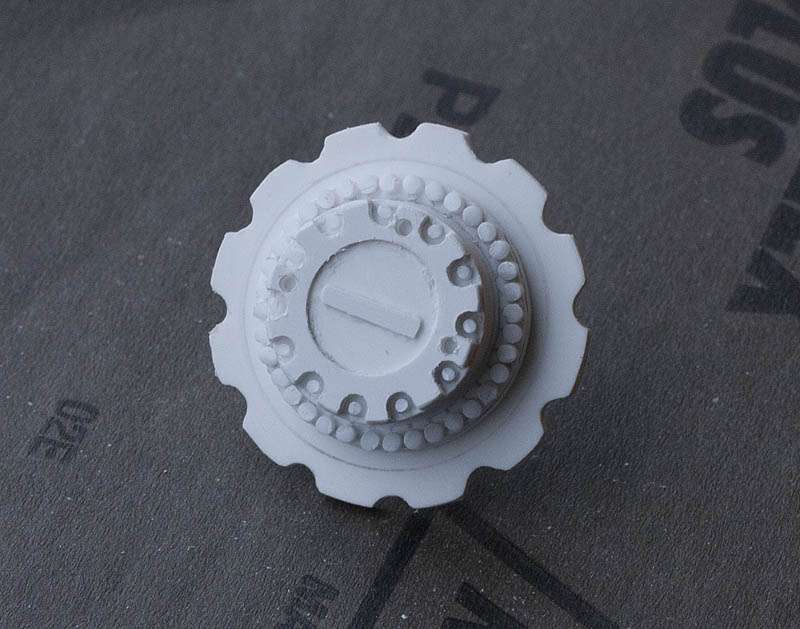 The idler is spring-loaded which keeps the tracks nice and tight  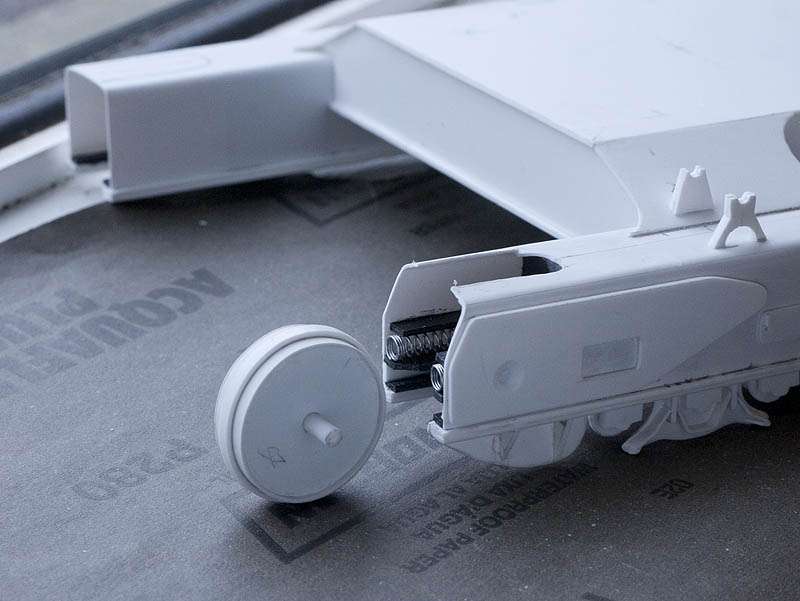 Lastly, this is how it looks so far: 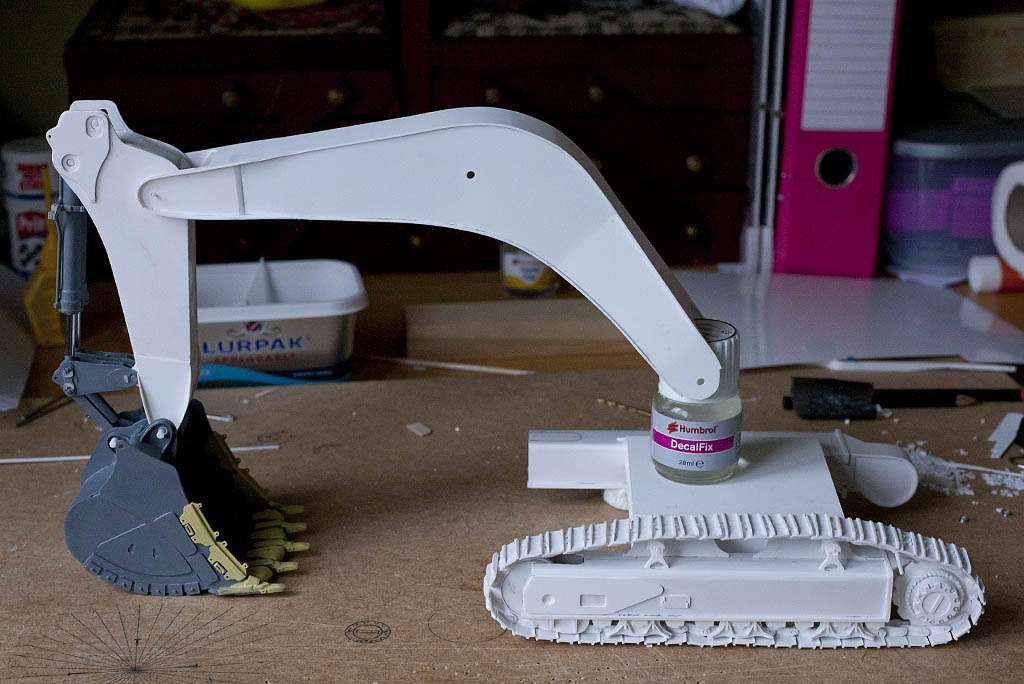
|
|

Rank: Advanced Member
Groups: Member
Joined: 2/14/2003
Posts: 2,353
Location: Granby,QC,Canada
|
oh yeah babea ! nice work , she's gonna be a beauty !!
|
|

Rank: Advanced Member
Groups: Member
Joined: 6/30/2003
Posts: 4,920
Location: Melbourne, Australia
|
We are very lucky on this forum to see some exceptional modelling, this is a perfect example! Thanks for the updates, I'm really enjoying seeing this come together! Rowan.
1:25th scale CAT 375L excavator
|
|

Rank: Advanced Member
Groups: Member
Joined: 7/26/2007
Posts: 1,134
Location: Sweden
|
This is incredible!
//Niklas Eriksson
|
|

Rank: Advanced Member
Groups: Member
Joined: 6/4/2006
Posts: 7,752
Location: arlington, Tx
|
I hear you on the cheating part, but either way it would still be a great model adn if you have the time to build each one why not. It is looking good can not wait to see it all finished Jason
NIkl Scale Models
|
|

Rank: Advanced Member
Groups: Member
Joined: 1/12/2012
Posts: 164
Location: Fayetteville, NC
|
The detail is amazing!
|
|
|
Guest |
