|
|
Rank: Advanced Member
Groups: Member
Joined: 4/3/2009
Posts: 108
Location: South Yorkshire, England
|
WOW !!! Fantastic detail
|
|

Rank: Advanced Member
Groups: Member
Joined: 9/12/2012
Posts: 485
Location: San Diego, California
|
Wow, the detail is amazing. What do you cut your sheeting with?
|
|
Rank: Advanced Member
Groups: Member
Joined: 5/11/2009
Posts: 570
|
Thanks again for the compliments. @Dex, the styrene sheet is cut with a craft knife. For very small or intricate curves I use a pair of Xcut craft scissors. My tools are very basic (perhaps too basic at times...!). Progress has been a little slower this past week as I took a few days off. I got back into it and started working on the boom again, this time on the gooseneck and stick cylinders. I cannot find a good photo of the bracing between the stick cylinders so I made it like the one between the bucket cylinders - I hope it's right! I have decided to paint all the gray parts but leave the rest unpainted in case I am asked to produce this in a company livery. I think that this excavator would look SMOKIN in Liebherr yellow, but I'll wait and see what happens.  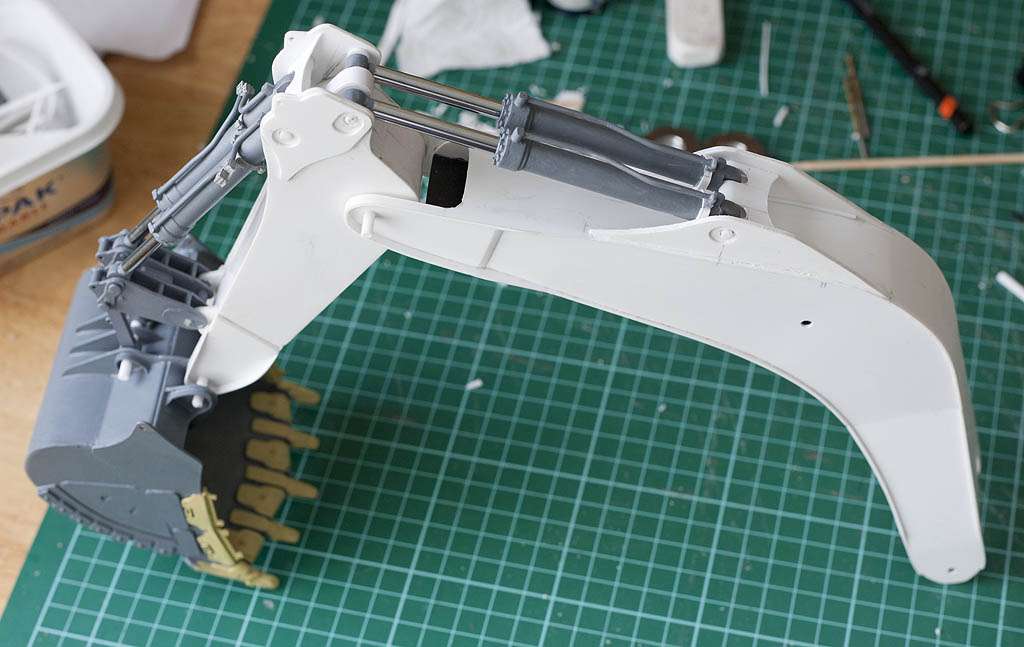 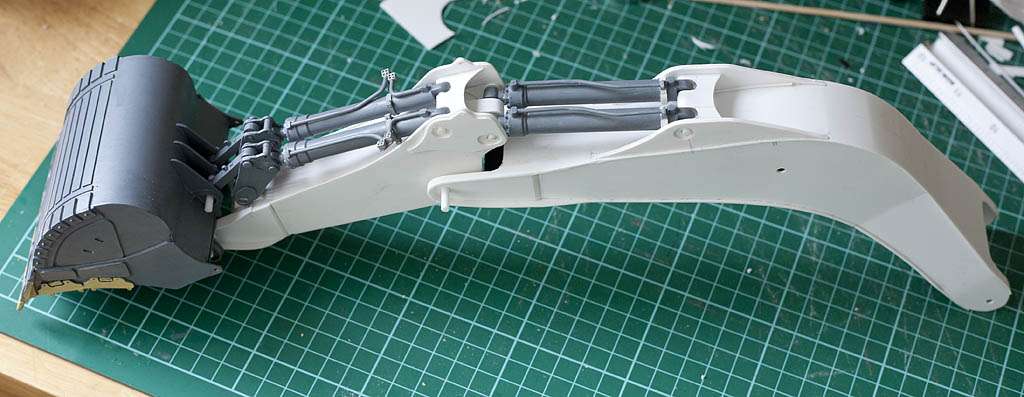
|
|
Rank: Advanced Member
Groups: Member
Joined: 5/11/2009
Posts: 570
|
Some more progress from today - I should have the turntable finished reasonably quickly. Cutting out and fixing the circles for the inside of the base with eight support struts - diameter of this part is 70mm 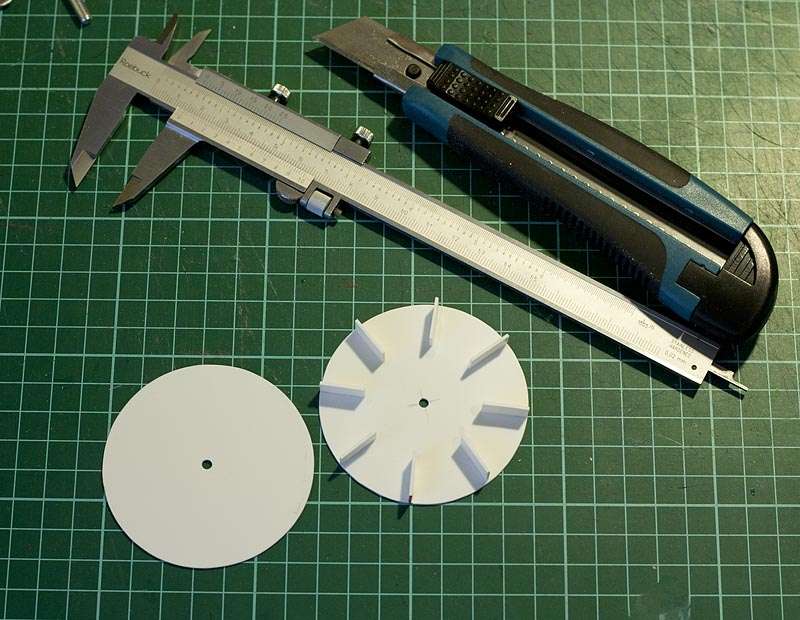 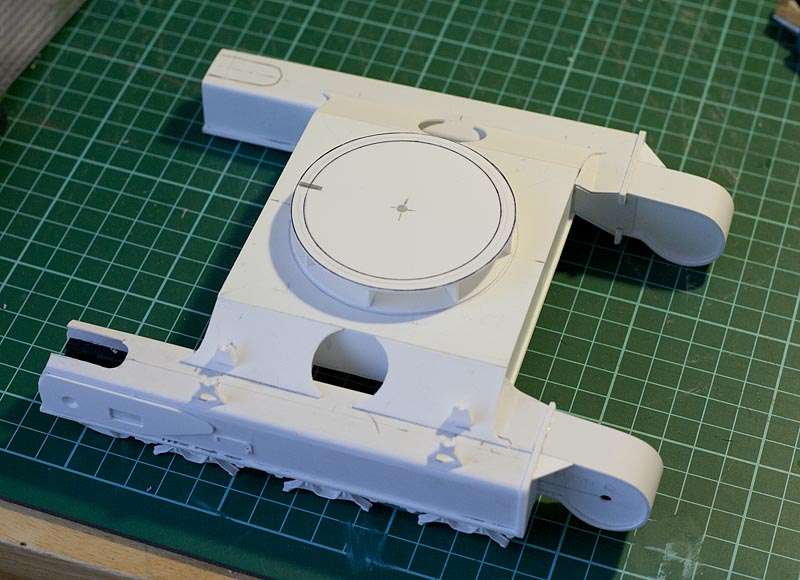 Adding the border, which will act as a carrier for the secret ingredient  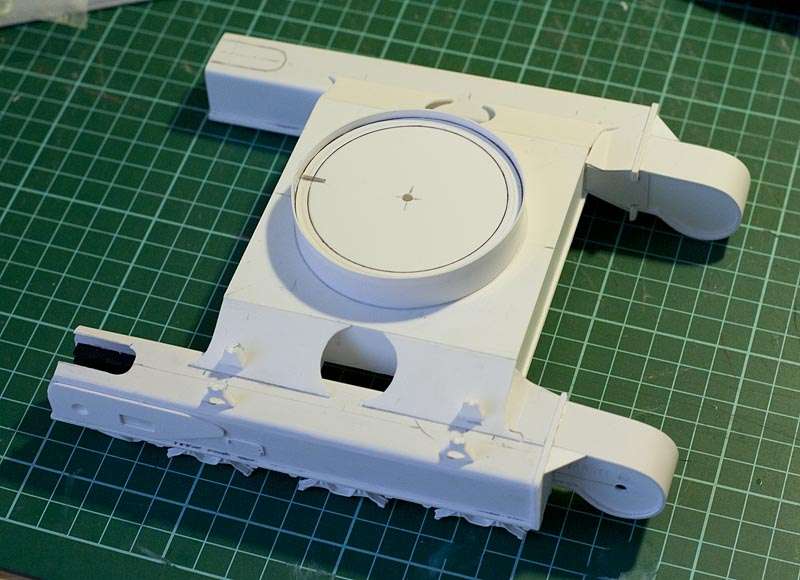 And after an inside track is added, I can complete the base with the ball bearings for some mega-smooth and mega-level turning action! 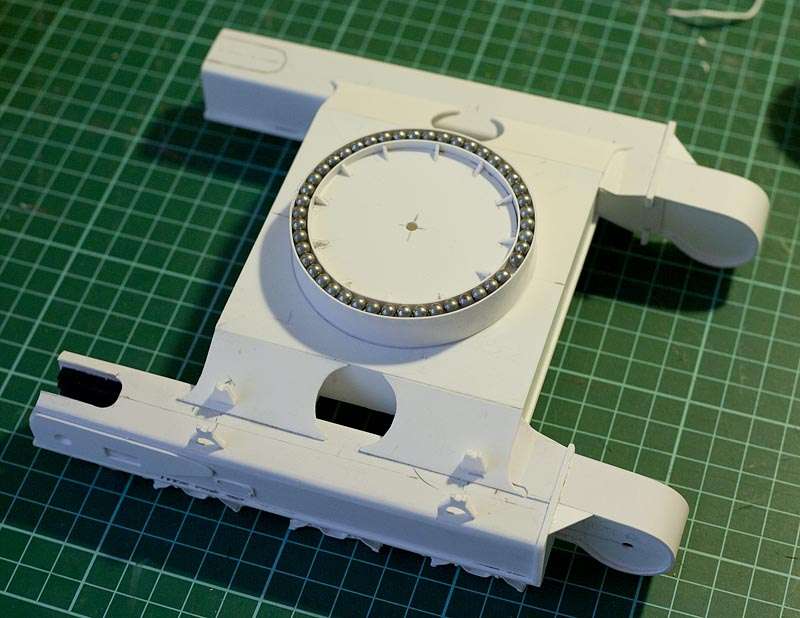 More to come 
|
|

Rank: Advanced Member
Groups: Member
Joined: 12/8/2005
Posts: 708
Location: Germany
|
Absolutely stunning!  Will follow the progress curiously.Though I have no doubt it will be a megy eyecatcher when finished.  Jan
|
|
Rank: Advanced Member
Groups: Member
Joined: 8/10/2002
Posts: 1,762
Location: out of jail!!
|
Amazing!!!!! What do you use for the hydraulic rods??It certainly does'nt look like styrene!! Max.
Cat 245.....Now and Forever  I am looking for industrial auction brochures from Ritchie Bros, Miller & Miller, Forke Bros, First Team Auction, Max Rouse, etc from the 70's, 80's and 90's.I am a collector and heavy equipment enthusiast and these pamphlets are loaded with nice pictures of cleaned and freshly painted equipment.Thet don't have much value once the sale is over but they are a great help to me in preserving the memory of machines that are no longer being built.Please, help my hobby by looking in your old storage boxes and file folders for these old auction sale brochures.Your help is much appreciated.
|
|
Rank: Advanced Member
Groups: Member
Joined: 5/11/2009
Posts: 570
|
Thanks janh and max  @max the hydraulic lines so far are all made with 1.6mm styrene rod which is bent into shape by heating with a candle. I have made quite a bit of progress with the superstructure frame and will hopefully be able to post more pics later today. I am deliberately avoiding having to do all that painstaking work on the other crawler lol.
|
|

Rank: Advanced Member
Groups: Member
Joined: 10/7/2005
Posts: 2,495
Location: Shetland
|
This is really interesting to watch and I think most forum members like myself can't wait to see the finished machine  Coming on for 6000 views speaks for itself!.
Scania V8. The best sounding truck in the world.
|
|
Rank: Advanced Member
Groups: Member
Joined: 5/11/2009
Posts: 570
|
Thanks Paul - in all honesty, I'm rather curious myself as to how this will turn out, because it began strictly as a bucket-only model! Progress has been good but unfortunately it will slow now as I just don't have adequate technical information or reference photos to make a faithful representation of the real machine. I will be in contact with Liebherr to see what I can wangle, and in the meantime I'm going to have to face my demons and do the other side of the crawlers... OH NO! Work on the superstructure begins - dimensions here are mostly guesswork, but this is generally how most of these excavators are designed. The only reference photo I have is from the Minexpo video which contains a very brief shot of the Liebherr factory. This is my first experience with 1.5mm sheet styrene - interesting stuff!   Drawing the base of the superstructure and cutting it out... 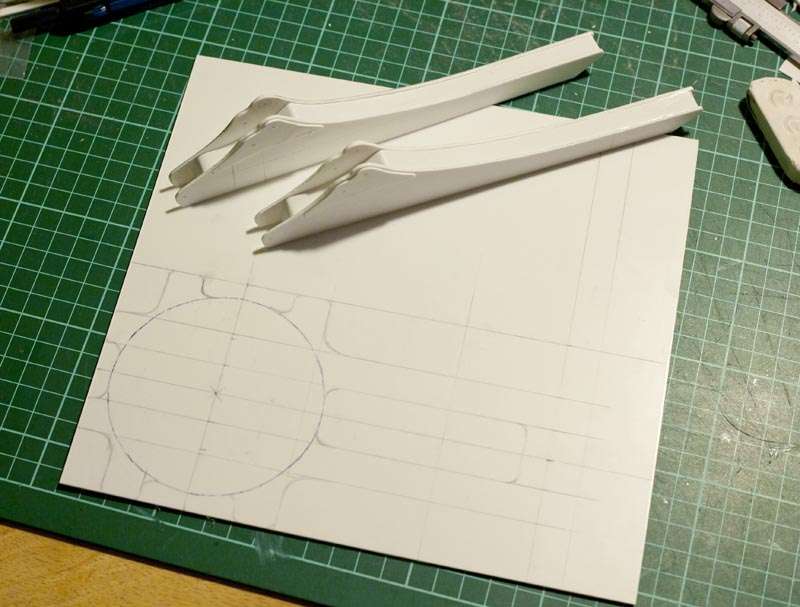 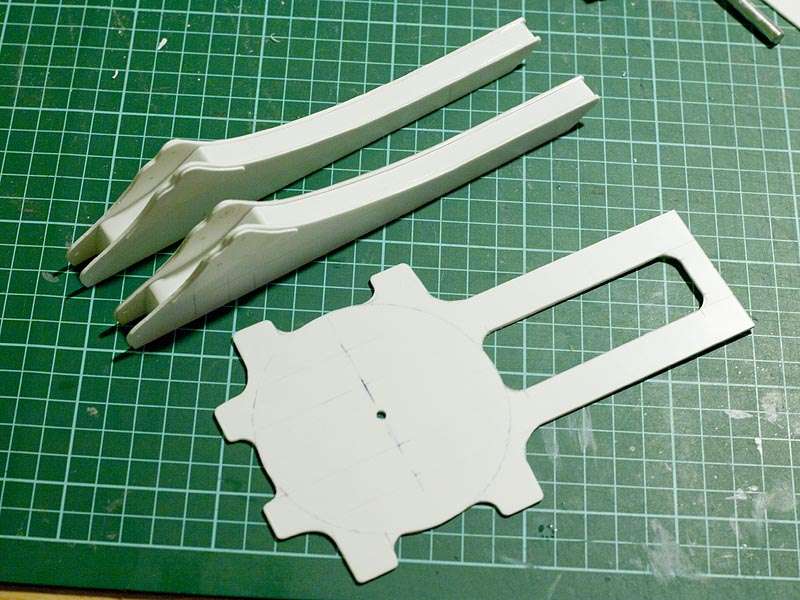 The turntable is now pretty much complete - I added rivets to both slew rings and the assembly (complete with ball bearings) is held together by a 3mm diameter bolt. This thing turns SO SMOOTH I could actually sit turning it for hours and never get bored LOL! 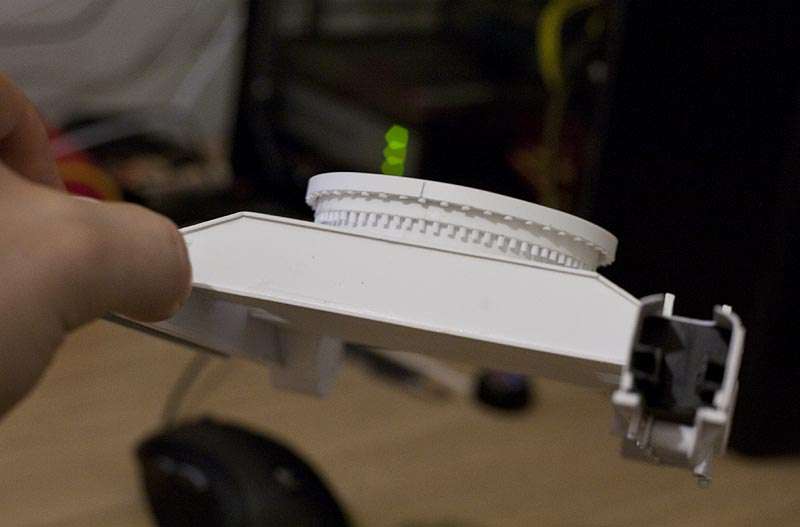 Provisional assembly (no poly cement) 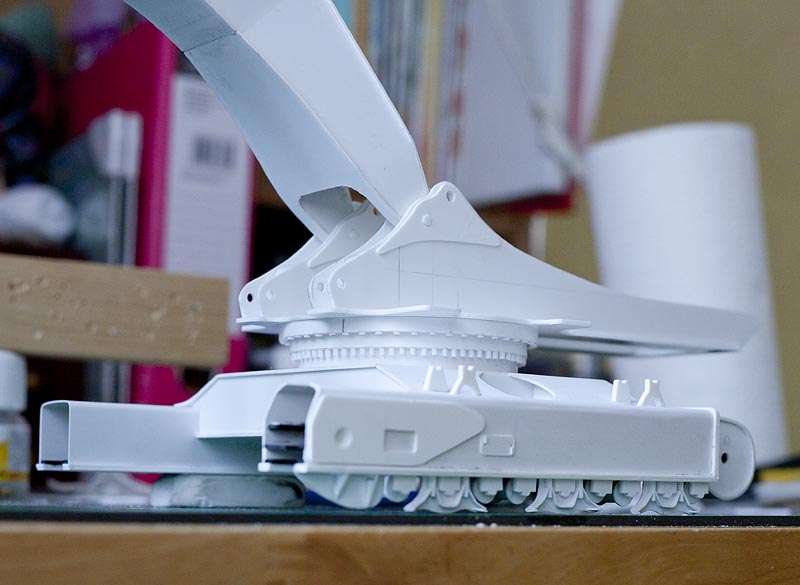 I had to modify the base of the gooseneck for it to fit, but that's fine and it looks OK to me! 
|
|

Rank: Advanced Member
Groups: Member
Joined: 6/4/2006
Posts: 7,752
Location: arlington, Tx
|
Starting to take some shape. You look like you are having fun. Jason
NIkl Scale Models
|
|

Rank: Advanced Member
Groups: Member
Joined: 6/20/2008
Posts: 330
Location: Leicestershire UK
|
This is looking great, & its going at such a fast pace! Keep it up please!
|
|
Rank: Advanced Member
Groups: Member
Joined: 10/31/2011
Posts: 1,079
Location: Springfield, Oregon
|
I'm always amazed at the attention to the smallest details in this build. Great work. You have a ton more patience than I.
-Jason YouTubeTimberline Thinning CompanyMy Photostream
|
|

Rank: Advanced Member
Groups: Member
Joined: 9/12/2012
Posts: 485
Location: San Diego, California
|
Davie82 wrote:Thanks again for the compliments.
@Dex, the styrene sheet is cut with a craft knife. For very small or intricate curves I use a pair of Xcut craft scissors. My tools are very basic (perhaps too basic at times...!).
Awesome, do you use a guide for the craft knife (ruler, etc)? Are you using any computer programs to aid you? I'm just trying to get an idea of how to do this as I have a much smaller project in mind for an excavator of mine.
|
|

Rank: Member
Groups: Member
Joined: 1/5/2008
Posts: 92
Location: Huesca , Spain
|
Hi Davie , you are doing a great work and very fast too, Im amazed. But checking your latest photos I think the superstructure looks a bit small compared with the stick and the boom, I see a bit short in height . I mean, I hate when something goes wrong , I'd prefer someone realised me before to do more work.
I hope my words dont disturb you.
Diego
|
|
Rank: Advanced Member
Groups: Member
Joined: 5/11/2009
Posts: 570
|
@ Dex, yeah I'm using a good quality steel ruler for my straight cuts. Sometimes I cut just a little bit too big, a fraction of a mm, and then sand it down to the right size so I get a perfect fit. With styrene the secret is to cut too big, because cutting too small is much more difficult to fix!! All of the drawings I have are done old-fashioned style with pencil on paper - the best way! It's been really difficult to get some of the proportions (eg the width of the boom and the stick) and I've just had to guess these. I hope it's not to far from the real machine. @Diego, don't worry about it - I think that the perspective makes it look small, and also the frame for the superstructure is relatively small in comparison to the engine housing and the cab etc. Thankfully I have the schematic which gives me an accurate dimension of the length of the superstructure, and I have it to the nearest mm  Here's a pic - this is the exact same proportions that I have used in my model:  I have made more progress with the superstructure and will post more photos soon. 
|
|
Rank: Advanced Member
Groups: Member
Joined: 5/11/2009
Posts: 570
|
Here's progress so far - I've almost finished the left side of the superstructure and will either start on the right side or the cab next. I'm really stretching myself here as I have no idea what the inside of the machine looks like, but I intend to build a detailed replica of the engine and hydraulic system... when I get that information (and OH I WILL)! Hinges and grills are not just for decoration here... the grills are made one rut at a time, and the hinges are fully functional  The hinges are made from 2.4mm tube and 1.2mm rod which work perfectly together; each section of tube is cut to 3mm and there are 9 sections in total for each of the larger doors... and I have only one more to do. 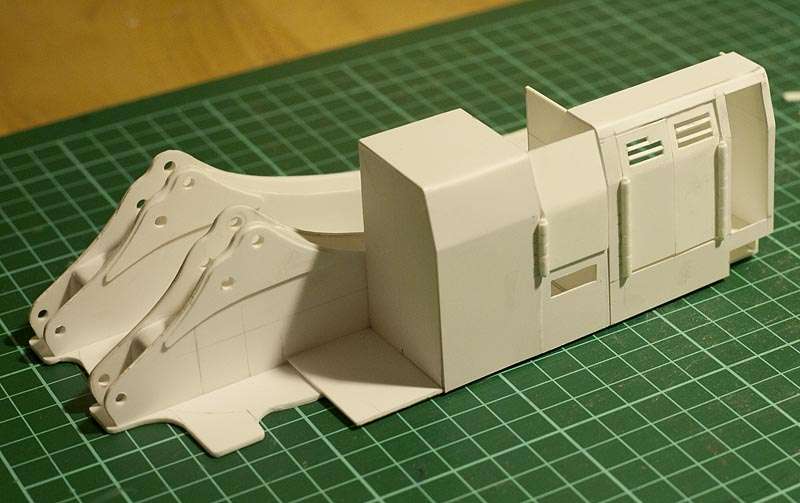  I have also nearly finished the counterweight... it just needs some filling here and there and I'll probably pack it full of plaster to give it bulk. The geometry in this thing was a proper B*TCH to figure out, but after two days of slogging I managed to get it done. Intersecting cylinders with a mitered recess... don't even get me started! 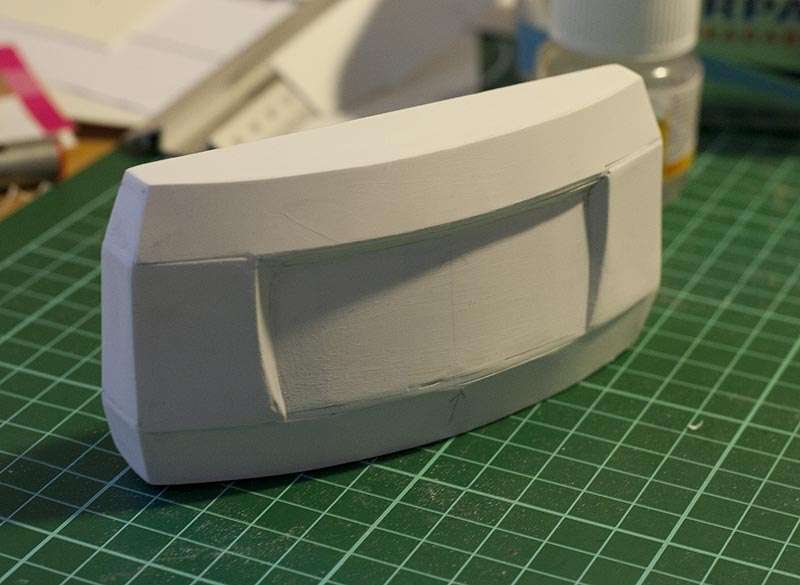 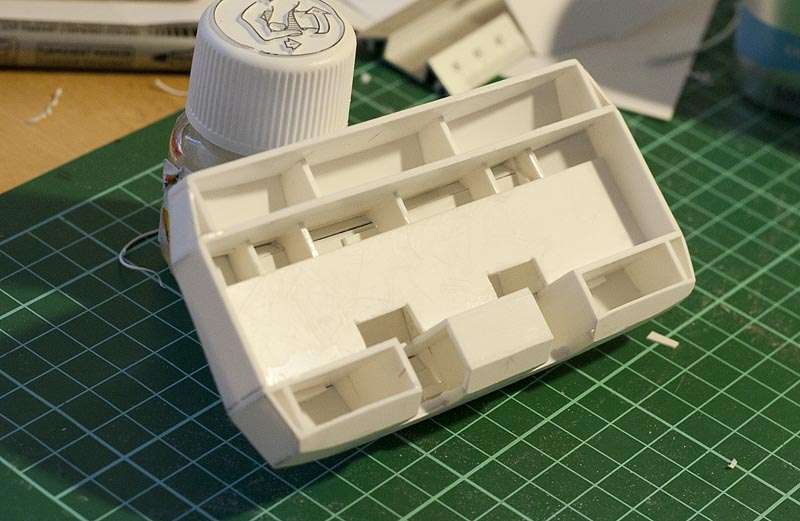
|
|

Rank: Member
Groups: Member
Joined: 1/5/2008
Posts: 92
Location: Huesca , Spain
|
I see your point , and good photo to take measures until Liebherr show us the PDF brochure . I hope will be soon
|
|

Rank: Advanced Member
Groups: Member
Joined: 6/4/2006
Posts: 7,752
Location: arlington, Tx
|
Looking good keep up the good work Jason
NIkl Scale Models
|
|
Rank: Advanced Member
Groups: Member
Joined: 5/11/2009
Posts: 570
|
Thanks Jason @ Diego I have been using the R9150 brochure - I downloaded it from the Liebherr website some time ago. You can still download it hereI notice however that Liebherr have removed the R9150 from their website...unless it was never there to begin with!
|
|

Rank: Member
Groups: Member
Joined: 1/5/2008
Posts: 92
Location: Huesca , Spain
|
Thanks Davie for the brochure , I have not seen on Liebherr website
|
|
|
Guest |
